
Laravel
Laravel is an open-source PHP web application framework known for its elegant syntax and ease of use. It was created by Taylor Otwell and released in 2011. Laravel follows the model-view-controller (MVC) architectural pattern, which separates the application logic from the presentation layer, making development more organized and manageable. Key features include: Eloquent ORM (Object-Relational Mapping): It provides a beautiful, simple ActiveRecord implementation for working with databases. It allows developers to interact with the database using PHP objects and avoids writing complex SQL queries. Blade Templating Engine: Blade is a lightweight and powerful templating engine provided by Laravel. It enables developers to create reusable, clean, and intuitive views. Routing: It offers a simple and expressive way to define routes. Routes define the URL structure of the application and map them to appropriate controllers and actions. Middleware: Middleware provides a mechanism to filter HTTP requests entering your application. It allows for handling tasks such as authentication, logging, etc., before and after the request reaches the intended route or controller. Authentication and Authorization: Laravel makes authentication implementation easy with pre-built authentication scaffolding. Additionally, it provides a straightforward way to organize access control logic and permissions. Artisan Console: Laravel includes a built-in command-line interface called Artisan. It assists developers in performing repetitive tasks, such as creating controllers, models, migrations, and more. Testing: Laravel supports testing out of the box with PHPUnit. It provides convenient methods for testing applications and running tests to ensure the codebase’s stability. Security: Laravel takes security seriously and provides various built-in security features to protect against common web vulnerabilities, such as CSRF (Cross-Site Request Forgery), XSS (Cross-Site Scripting), SQL injection, and more. The Laravel ecosystem also includes various official and community-driven packages that extend the framework’s functionalities. Laravel has gained immense popularity due to its robust features, a supportive community, comprehensive documentation, and its ability to streamline the development process for web applications of varying complexities.
WordPress LMS Plugins
WordPress offers a variety of Learning Management System (LMS) plugins that can help you create, manage, and sell courses online. Before choosing an LMS plugin, evaluate your specific needs, budget, scalability requirements, and technical expertise to select the one that best fits your online course business model and instructional style. Here are some popular WordPress LMS plugins: LearnDash: A powerful and widely used LMS plugin for creating and selling online courses. It’s user-friendly and offers features like drip-feed content, quizzes, certificates, etc. LifterLMS: Another comprehensive plugin that allows you to build courses, create memberships, drip content, and engage students through quizzes and assignments. Sensei: Developed by WooCommerce, Sensei integrates seamlessly with WordPress and allows you to create courses, quizzes, and track students’ progress. Teachable WordPress Plugin: If you’re using Teachable as your primary platform but want to integrate it with WordPress, the Teachable WordPress plugin can help embed your courses within your WordPress site. WP Courseware: This plugin enables you to create courses with modules and units, drip content, quizzes, and certificates. It’s known for its ease of use and flexibility. MemberPress Courses: MemberPress is primarily a membership plugin, but with its Courses add-on, you can create and sell online courses within your membership site. Tutor LMS: A feature-rich plugin that includes course builder, quizzes, certificates, and more. It’s user-friendly and supports various multimedia content. Good LMS: Good LMS offers features like course management, quizzes, certificates, and content dripping. It’s designed to be responsive and easy to use. Namaste! LMS: This plugin offers basic LMS features such as courses, lessons, quizzes, and certificates. It’s suitable for smaller-scale online course setups. MasterStudy LMS: Known for its UI/UX design, MasterStudy LMS provides course creation, quizzes, assignments, and various monetization options. When selecting an LMS plugin, consider factors like ease of use, features required (such as quizzes, assignments, certificates), integration with other tools or payment gateways, customer support, pricing, and scalability based on your current and future needs. Always check the plugin’s documentation, reviews, and compatibility with your WordPress version before making a decision. Additionally, ensure that the plugin aligns well with your teaching style and the type of courses you plan to offer.
Visual Hierarchy in WordPress
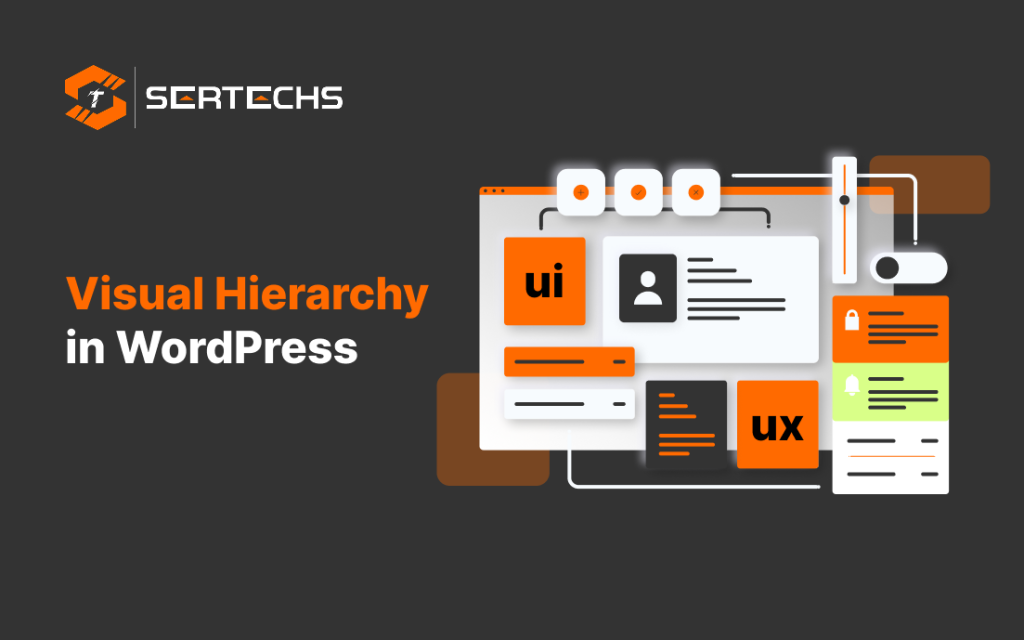
In WordPress, establishing a strong visual hierarchy is essential for guiding users through your website content effectively. Visual hierarchy helps prioritize information, making the most important elements stand out and improving overall user experience. Here are some ways to create a visual hierarchy in WordPress: Typography: Heading Styles: Select different heading levels (H1, H2, H3, etc.) for titles, subtitles, and sections. Ensure consistent styling and consider using larger fonts for more important headings. Font Size and Weight: Emphasize key points by using larger font sizes or bold text for important information. Contrast: Color contrast between text and background to make content more readable and distinguishable. Colors: Color Palette: Choose a color scheme that complements your brand and helps guide attention. Use bold or vibrant colors for important elements and more muted tones for secondary information. Call-to-Action (CTA) Buttons: Use a contrasting color for buttons to make them stand out and encourage clicks. Layout and White Space: Whitespace: Properly utilize white space to give content room to breathe and highlight key elements. It helps avoid clutter and improves readability. Grid Layouts: Organize content using a grid system to maintain consistency and guide users’ focus to important sections. Images and Media: Images: Use high-quality images to complement and reinforce content. Images can draw attention and guide users through the page. Media Embeds: Incorporate videos, slideshows, or interactive elements strategically to engage users and direct attention. Selection of Icons and Symbols: Icons: Employ icons to support text or denote specific actions. They can quickly convey information and aid in visual communication. Consistency: Design Consistency: Maintain a consistent style throughout your website to avoid confusion and help users navigate intuitively. Repetitive Design Elements: Use recurring design elements (such as colors, fonts, and shapes) to create a cohesive experience. Implementing Visual Hierarchy in WordPress: Theme Selection: Choose a WordPress theme that allows for easy customization of typography, colors, and layouts to support your visual hierarchy goals. Page Builders and Customization: Select WordPress page builders or custom CSS to fine-tune the design elements and create a hierarchy that aligns with your content strategy. Plugins: Explore plugins that assist in design or typography enhancements, providing additional tools for creating a strong visual hierarchy. WordPress offers numerous themes and customization options to achieve a strong visual hierarchy. By leveraging typography, colors, layout, and consistent design principles, you can effectively guide users through your content and improve their overall experience on your website.
WordPress Site Migration
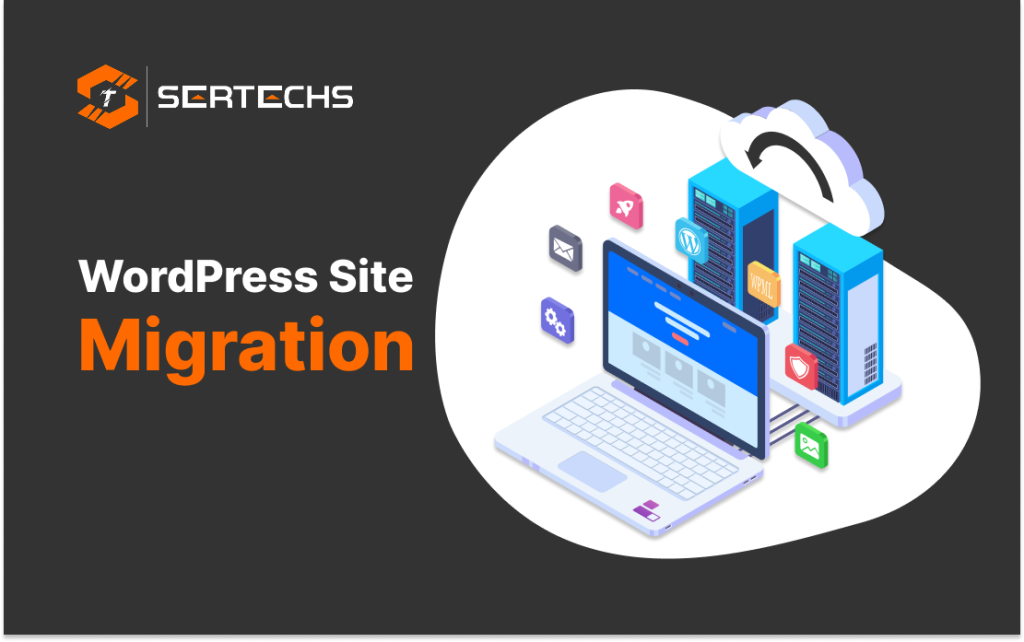
Migration of WordPress site involves transferring all its files, databases, and configurations from one hosting provider to another, or from one domain to another. Here’s a general guideline to migration a WordPress site: Pre-Migration Steps: Backup your site: Use a plugin like UpdraftPlus, BackupBuddy, or your hosting provider’s backup tool to create a backup of your WordPress site files and database. Download the backup: Keep a copy of the backup files in a secure location on your computer. Migration Steps: New hosting environment: Purchase hosting if you’re changing providers or set up the new environment where you want to migrate the site. Upload WordPress files: Use FTP or your hosting file manager to upload your WordPress files to the new server. Import the database: Create a new database on the new server and import your backed-up database using phpMyAdmin or a similar tool. Update the wp-config.php file with the new database details. Search and replace URLs: If changing domains, update URLs in the database to reflect the new domain using tools like WP-CLI, plugins like Better Search Replace, or manually via phpMyAdmin. Upload media files: Transfer media files (images, videos, etc.) from the old site to the new one via FTP or the hosting file manager. Modify DNS settings: If changing domains, update DNS records to point to the new server. Test the site: Visit the new site, check functionality, and ensure everything works as expected. Post-Migration Steps: Update WordPress settings: Check and update settings like permalinks, site title, and other configurations if necessary. Install SSL certificate: If applicable, set up an SSL certificate on the new server for secure browsing. Update plugins and themes: Ensure all plugins and themes are updated to the latest versions. Configure email settings: If your site uses email functionality, configure SMTP settings or any necessary changes. Monitor for errors: Regularly check your site for any issues or errors that might have arisen during the migration process. Notes: Always perform these steps on a staging or test environment first to avoid potential issues on your live site. If you’re uncomfortable with the technical aspects, consider using professional services or plugins. That specialize in site migration to simplify the process. Remember, each migration scenario can vary based on hosting providers, site complexity, and other factors. Always have a backup and proceed cautiously to avoid data loss or site downtime.
RegTech

RegTech, short for Regulatory Technology, refers to the use of technology to help businesses comply with regulations efficiently and effectively. The primary goal of RegTech is to streamline regulatory processes, automate compliance tasks, and manage regulatory risk more efficiently using technological solutions. Regulatory compliance is a complex and critical aspect of operating in various industries, such as finance, healthcare, cybersecurity, and more. RegTech solutions leverage technologies like artificial intelligence (AI), machine learning (ML), big data analytics, blockchain, and cloud computing to address compliance challenges. Types of RegTech Solutions: Risk Management Solutions: These solutions use advanced analytics, AI, and machine learning algorithms to identify, assess, and mitigate risks associated with regulatory compliance. They help in evaluating risks related to financial transactions, market volatility, and regulatory changes. Compliance Monitoring and Reporting Tools: RegTech platforms assist in real-time monitoring of transactions and activities to detect anomalies and suspicious behavior. They also automate reporting processes, ensuring accurate and timely submissions of regulatory reports to relevant authorities. KYC and AML Solutions: These tools help in customer identity verification, due diligence, and screening processes to comply with Know Your Customer (KYC) and Anti-Money Laundering (AML) regulations. These solutions use data analytics and AI to identify potential risks associated with money laundering activities. Benefits of RegTech: Efficiency: RegTech solutions automate many compliance tasks, reducing the need for manual effort and enabling companies to handle regulatory requirements more efficiently. Cost Savings: By automating processes and reducing manual errors, it helps in cutting operational costs associated with compliance. Accuracy and Timeliness: Automated systems ensure accuracy and timeliness in compliance reporting and adherence to regulatory requirements, reducing the risk of penalties due to non-compliance. Challenges and Adoption: Integration Complexity: Integrating RegTech solutions into existing systems and workflows can be complex and require careful planning. Data Security Concerns: While RegTech solutions focus on data management and security, there might be concerns regarding the security of sensitive information handled by these systems. Regulatory Heterogeneity: Different regions and industries have varied regulatory frameworks, making it challenging for RegTech solutions to address all specific requirements. It continues to evolve, offering innovative solutions to help businesses navigate the complexities of regulatory compliance efficiently and effectively.
Theme development
Theme development refers to the process of creating a design template or framework that determines the overall look, feel, and functionality of a website, blog, or application. Themes are a collection of files that control the visual presentation and layout of a website or platform. They typically include HTML, CSS, JavaScript, and sometimes PHP or other programming languages. Here are the key aspects and steps involved in theme development: Planning and Conceptualization: Understand the purpose, target audience, and goals of the website or application. Create a plan and outline the design elements and features you want to incorporate. Design Mockups or Wireframes: Develop a visual representation of the layout, structure, and user interface elements using tools like Adobe XD, Sketch, or Figma. This helps to visualize the appearance and arrangement of content before coding. HTML Structure: Create the basic structure of the theme using HTML. This includes defining the different sections, such as header, footer, sidebar, content area, etc. CSS Styling: Style the HTML elements using CSS to define colors, typography, spacing, layout, responsiveness, and overall visual aesthetics. CSS preprocessors like Sass or LESS can be used to streamline the styling process. JavaScript Integration: Add interactivity and functionality using JavaScript. This may involve implementing animations, sliders, dropdowns, form validations, or other dynamic elements. Responsive Design: Ensure that the theme is responsive and looks good on various devices and screen sizes, such as desktops, laptops, tablets, and mobile phones. Accessibility and SEO: Optimize the theme for accessibility by following best practices for web accessibility standards. Additionally, implement SEO-friendly elements like meta tags, structured data, and semantic HTML to improve search engine visibility. Testing and Debugging: Thoroughly test the theme across different browsers and devices to identify and fix any compatibility issues, bugs, or usability problems. Deployment and Distribution: Once the theme is finalized and tested, package it for distribution. This can involve uploading it to platforms like WordPress, Shopify, or other content management systems for users to install and use. Remember, theme development requires attention to detail, creativity, and a good understanding of design principles, front-end development languages, and user experience (UX) considerations to create a visually appealing and functional theme.
Plugin Development
Plugin development typically refers to creating additional software components or extensions that can be added to an existing software application to enhance its functionality or add new features. Plugins are commonly used in various types of software, including content management systems (like WordPress), web browsers, audio/video editing software, and more. Here are some key aspects and steps involved in plugin development: Understanding the Host Application: Before starting plugin development, it’s crucial to understand the host application where the plugin will be integrated. Know the architecture, APIs, and capabilities of the host application. Identify the Purpose and Scope: Define the purpose of your plugin and what functionality it will add or modify within the host application. Determine the specific features or modifications you aim to achieve. Choose a Development Environment: Select the appropriate tools, programming languages, and frameworks based on the requirements of the host application. For example, if you’re creating a WordPress plugin, you might use PHP, JavaScript, and WordPress-specific APIs. Development Process: Create the plugin’s structure: Define files, directories, and necessary components. Code the functionality: Implement the features as per your defined scope. Test thoroughly: Ensure the plugin works as intended, checking for bugs, errors, and compatibility issues. APIs and Hooks Integration: Many host applications provide APIs, hooks, or extension points that allow developers to integrate their plugins seamlessly. Understand these integration points and utilize them effectively to interact with the host application. User Interface (UI) and User Experience (UX): If the plugin requires a user interface, design it in a way that aligns with the host application’s design patterns and offers a smooth user experience. Documentation and Support: Provide clear documentation explaining the plugin’s installation process, configuration options, and usage instructions. Additionally, offer support channels for users who may have questions or encounter issues. Security and Performance: Ensure the plugin follows best practices for security to prevent vulnerabilities. Optimize code for performance to minimize any negative impact on the host application’s performance. Testing and Quality Assurance: Test the plugin thoroughly across different environments and scenarios to ensure it works reliably and doesn’t conflict with other plugins or the host application itself. Deployment and Distribution: Prepare the plugin for distribution through appropriate channels (e.g., an official marketplace, website, or repository) and follow guidelines for submission and approval if applicable. Remember that the process may vary depending on the host application and the complexity of the plugin being developed. Good documentation, clean code, adherence to best practices, and user-centric design are crucial aspects of successful plugin development.
WordPress REST API

The WordPress REST API is an application programming interface that allows developers to access and interact with the content of a WordPress website in a more flexible and versatile manner. It enables users to perform various CRUD (Create, Read, Update, Delete) operations on WordPress content such as posts, pages, comments, users, taxonomies, and more. The REST API endpoints provided by WordPress allow access to the site’s data in JSON format, making it easier for developers to integrate WordPress with other applications, frameworks, or platforms. Key features and functionalities of the WordPress REST API include: Access to WordPress Content: Retrieve, create, update, and delete posts, pages, categories, tags, comments, media, users, and other content types. Authentication and Permissions: Provides authentication mechanisms (such as OAuth, cookie authentication, and application passwords) to control access to the API endpoints based on user roles and capabilities. Custom Endpoints: Developers can create custom endpoints to extend the API’s functionality, enabling interaction with custom post types, meta data, or other plugin-specific functionalities. Cross-domain Requests: Supports cross-domain AJAX requests, allowing external applications or websites to interact with a WordPress site’s data. RESTful Principles: Follows RESTful principles, including the use of HTTP methods (GET, POST, PUT, DELETE) and status codes for different operations and responses. The WordPress REST API uses standard HTTP methods to perform CRUD operations: GET: Retrieve data (e.g., fetching posts, users). POST: Create new data (e.g., create a new post, comment). PUT: Update existing data (e.g., modify a post). DELETE: Remove data (e.g., delete a comment). These methods correspond to different actions you can perform on the resources exposed via API endpoints. Customization and Extensibility: Developers can extend the REST API by creating custom endpoints. This allows for exposing specific functionalities or custom data types from plugins or themes, making WordPress more adaptable to diverse use cases. Error Handling and Responses: The API returns responses in JSON format, including appropriate HTTP status codes for success, errors, or other conditions. It provides detailed error messages and information in case of failures or invalid requests. The WordPress REST API offers a powerful way to interact with WordPress sites beyond the traditional web interface. Its flexibility, coupled with comprehensive documentation, makes it a valuable tool for developers to build custom applications, integrations, or extend WordPress functionalities to suit specific needs.
WordPress

WordPress is a popular content management system (CMS) used to create and manage websites and blogs. It’s an open-source platform known for its flexibility, user-friendliness, and extensive range of themes and plugins that allow users to customize and extend their websites. Key features include: Ease of Use: It offers a user-friendly interface, making it accessible for beginners while also providing advanced features for developers. Themes: It offers a wide range of themes (both free and premium) that determine the design and layout of a website. Users can choose themes to match their desired look and feel. Plugins: There are thousands of plugins available, allowing users to add various functionalities to their websites, such as SEO optimization, contact forms, e-commerce solutions, social media integration, and more. Content Management: WordPress makes it easy to create, edit, and organize content. It supports various content types, including posts, pages, media, and custom post types. SEO-Friendly: It provides tools and plugins to optimize websites for search engines, helping improve visibility and ranking in search results. Community Support: It has a large community of users, developers, and contributors. This community support means there are plenty of resources, forums, and tutorials available to help users with any issues or questions they may have. WordPress comes in two main versions: WordPress.com and WordPress.org. WordPress.com is a hosted platform where you can create a website for free or choose premium plans with additional features. It handles hosting, security, and backups for you. WordPress.org provides the open-source software that you can download and install on your own web server. With this version, you have more control over your site but also need to manage hosting, security, and backups yourself. WordPress is widely used across the internet for various types of websites, including blogs, portfolios, business websites, e-commerce stores, forums, and more. Its flexibility and extensive ecosystem make it a popular choice for individuals and businesses looking to establish an online presence.
SSR vs CSR

Server-Side Rendering (SSR) vs Client-Side Rendering (CSR) are two different approaches to rendering web content in a browser. Each method has its own advantages and considerations: Server-Side Rendering (SSR): Rendering Process: In SSR, the server generates the full HTML of a page for each request. When a user requests a page, the server processes the request and sends back the fully rendered HTML to the browser. Performance: SSR can potentially provide faster initial page loads because the server sends ready-to-display HTML content. This can be particularly beneficial for content that needs to be indexed by search engines or for users on slower internet connections. SEO-Friendly: Since search engines can read the content directly from the HTML, SSR is generally considered more SEO-friendly compared to CSR. Client-Side Rendering (CSR): Rendering Process: In CSR, the server sends a bare-bones HTML file with minimal content and includes JavaScript files. The browser then downloads these scripts, which execute on the client-side and generate the HTML content dynamically. Performance: CSR might initially be slower because the browser needs to wait for JavaScript to execute and render the content. However, subsequent interactions within the web application can be faster as only data is fetched, and the page doesn’t need to be fully reloaded. Interactivity: CSR allows for more dynamic and interactive user experiences because most of the content rendering happens in the browser. This approach is commonly used in Single Page Applications (SPAs). Considerations: SEO: SSR is generally better for SEO because search engines can index the content directly from the HTML. However, CSR can also be made SEO-friendly by using techniques like server-side rendering for critical pages or implementing pre-rendering solutions. Performance: SSR typically provides faster initial page loads, especially on slower devices or networks. CSR might have a slower initial load time but can offer a smoother experience once the initial content is loaded. Complexity: CSR might be more complex to set up, especially for large-scale applications, due to managing client-side state, routing, and handling SEO considerations. SSR can be simpler in some cases as the server handles most of the initial rendering. In practice, many modern web applications use a combination of SSR vs CSR techniques (a hybrid approach) to leverage the benefits of both methods. This hybrid approach is often referred to as “Hybrid Rendering” or “Isomorphic Rendering,”. Where some pages are pre-rendered on the server, while others rely on client-side rendering for interactivity.